Gadgets: Difference between revisions
From Test wiki
More actions
No edit summary |
No edit summary |
||
| Line 1: | Line 1: | ||
Contestants will choose from a variety of special equipment to further complement their playstyle in the arena. All gadgets are active abilities that have a fixed cooldown, and the uses and effectiveness of these gadgets can vary in different situations. Experimentation and practice is important to utilize gadgets correctly.{{InfoGridCards|header1={{colored link|#f1f2f4|Builds#Light Build|Light Build}}|header2={{colored link|#f1f2f4|Builds#Medium Build|Medium Build}}|header3={{colored link|#f1f2f4|Builds#Heavy Build|Heavy Build}} | Contestants will choose from a variety of special equipment to further complement their playstyle in the arena. All gadgets are active abilities that have a fixed cooldown, and the uses and effectiveness of these gadgets can vary in different situations. Experimentation and practice is important to utilize gadgets correctly.{{InfoGridCards|header1={{colored link|#f1f2f4|Builds#Light Build|Light Build}}|header2={{colored link|#f1f2f4|Builds#Medium Build|Medium Build}}|header3={{colored link|#f1f2f4|Builds#Heavy Build|Heavy Build}} | ||
|text1 = {{EquipmentCard | Image= | |text1 = {{EquipmentCard | Image=Breaching_Charge_Icon.png | page=Breach Charge | equipment-name=Breach Charge}} | ||
{{EquipmentCard | Image= | {{EquipmentCard | Image=Glitch_Grenade_Icon.png | page=Glitch Grenade | equipment-name=Glitch Grenade}} | ||
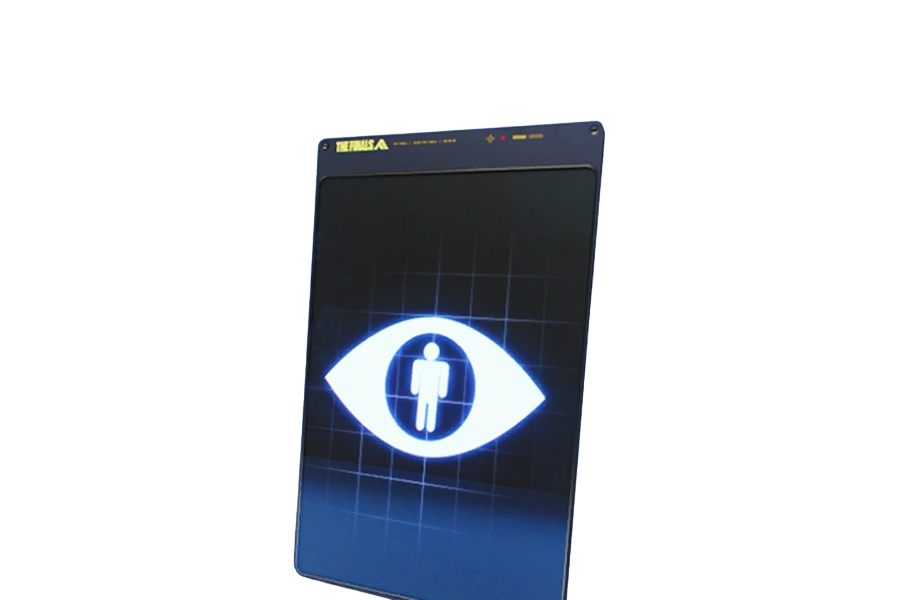
{{EquipmentCard | Image= | {{EquipmentCard | Image=Motion_Sensor_Icon.png| page=Motion Sensor | equipment-name=Motion Sensor}} | ||
{{EquipmentCard | Image= | {{EquipmentCard | Image=Smoke_Grenade_Icon.png| page=Smoke Grenade | equipment-name=Smoke Grenade}} | ||
{{EquipmentCard | Image= | {{EquipmentCard | Image=Stun_Gun_Icon.png| page=Stun Gun | equipment-name=Stun Gun}} | ||
{{EquipmentCard | Image=Thermal_Vision.png| page=Thermal Vision | equipment-name=Thermal Vision}} | {{EquipmentCard | Image=Thermal_Vision.png| page=Thermal Vision | equipment-name=Thermal Vision}} | ||
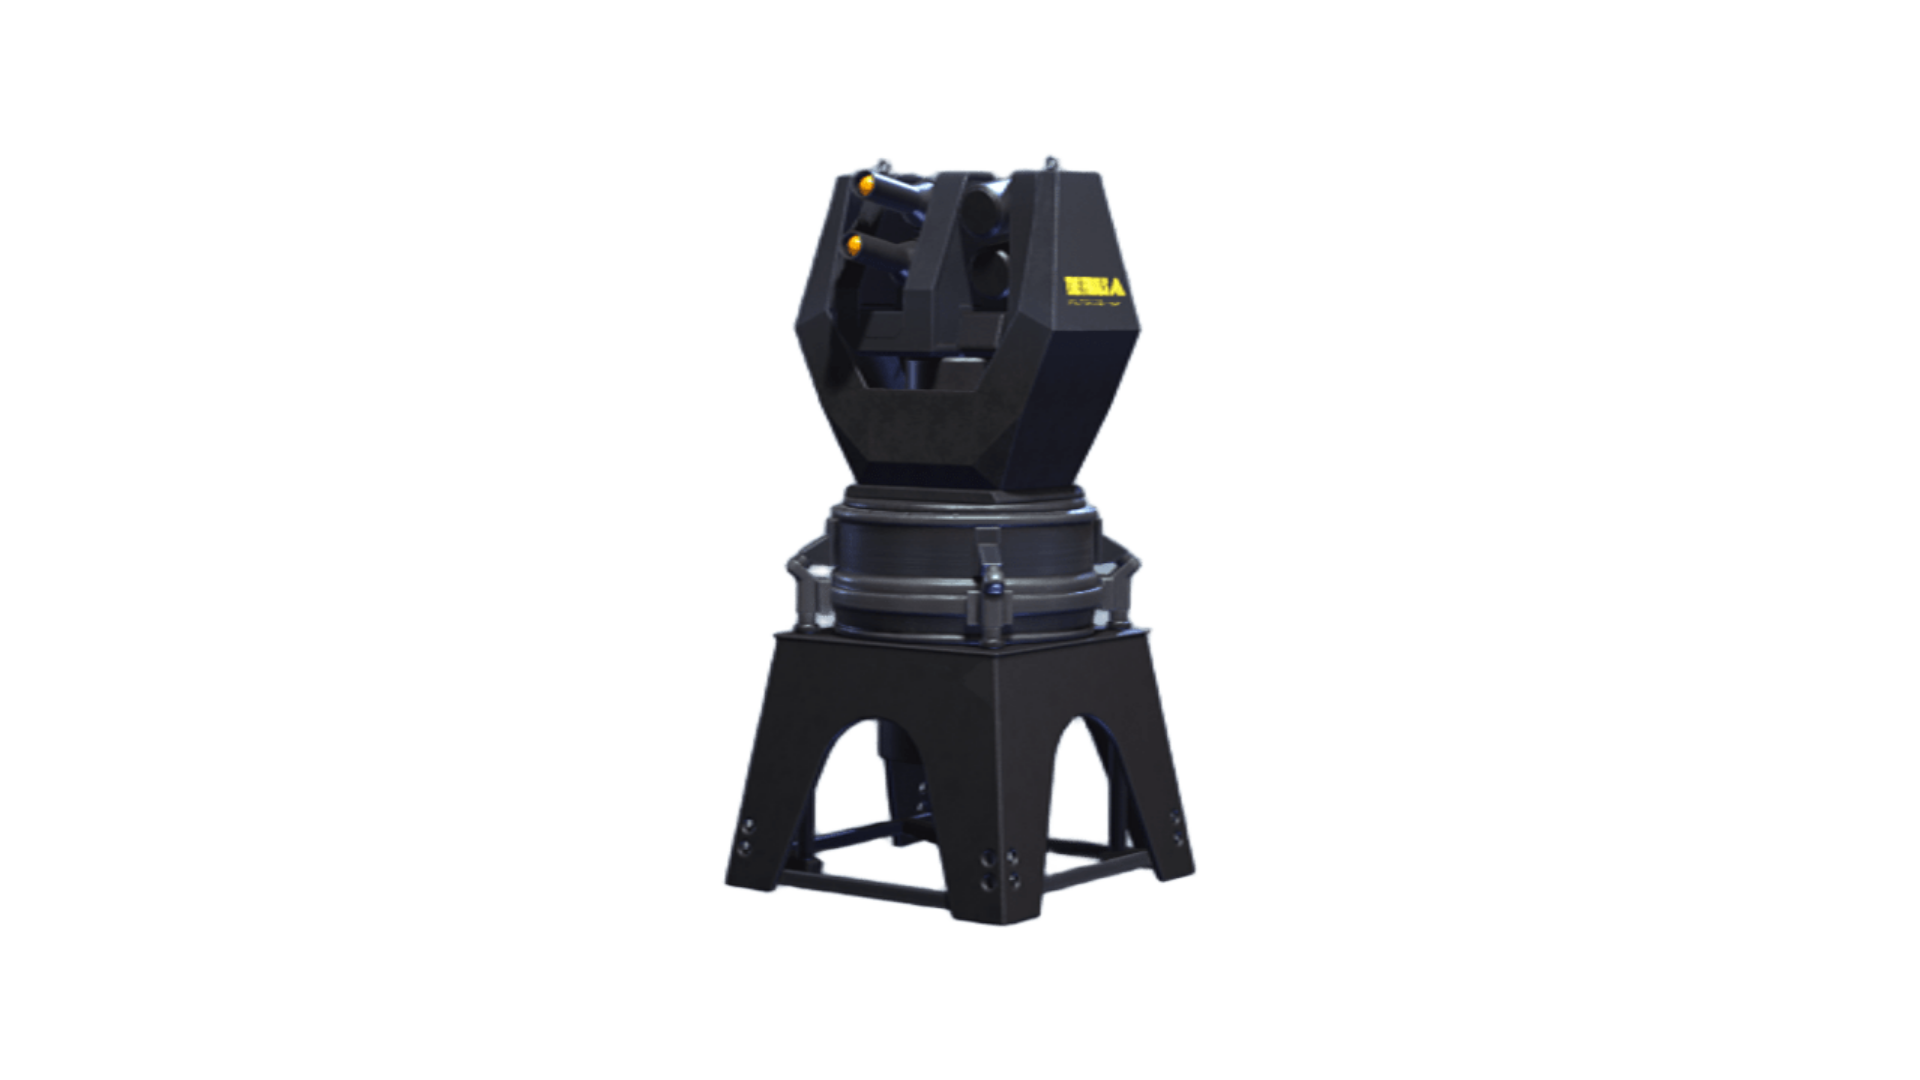
|text2 = {{EquipmentCard | Image=APS_Turret.png | page=APS Turret | equipment-name=APS Turret}} | |text2 = {{EquipmentCard | Image=APS_Turret.png | page=APS Turret | equipment-name=APS Turret}} | ||
{{EquipmentCard | Image= | {{EquipmentCard | Image=Defibrillator_Icon.png | page=Defibrillator | equipment-name=Defibrillator }} | ||
{{EquipmentCard | Image= | {{EquipmentCard | Image=Explosive_Mine_Icon.png | page=Explosive Mine | equipment-name=Explosive Mine}} | ||
{{EquipmentCard | Image= | {{EquipmentCard | Image=Gas_Mine_Icon.png| page=Gas Mine | equipment-name=Gas Mine}} | ||
{{EquipmentCard | Image= | {{EquipmentCard | Image=Glitch_Trap_Icon.png| page=Glitch Trap | equipment-name=Glitch Trap}} | ||
{{EquipmentCard | Image= | {{EquipmentCard | Image=Jump_Pad_Icon.png| page=Jump Pad | equipment-name=Jump Pad}} | ||
{{EquipmentCard | Image=Night_Vision.png | page=Night Vision | equipment-name=Night Vision}} | {{EquipmentCard | Image=Night_Vision.png | page=Night Vision | equipment-name=Night Vision}} | ||
{{EquipmentCard | Image= | {{EquipmentCard | Image=Sonar_Grenade_Icon.png | page=Sonar Grenade | equipment-name=Sonar Grenade}} | ||
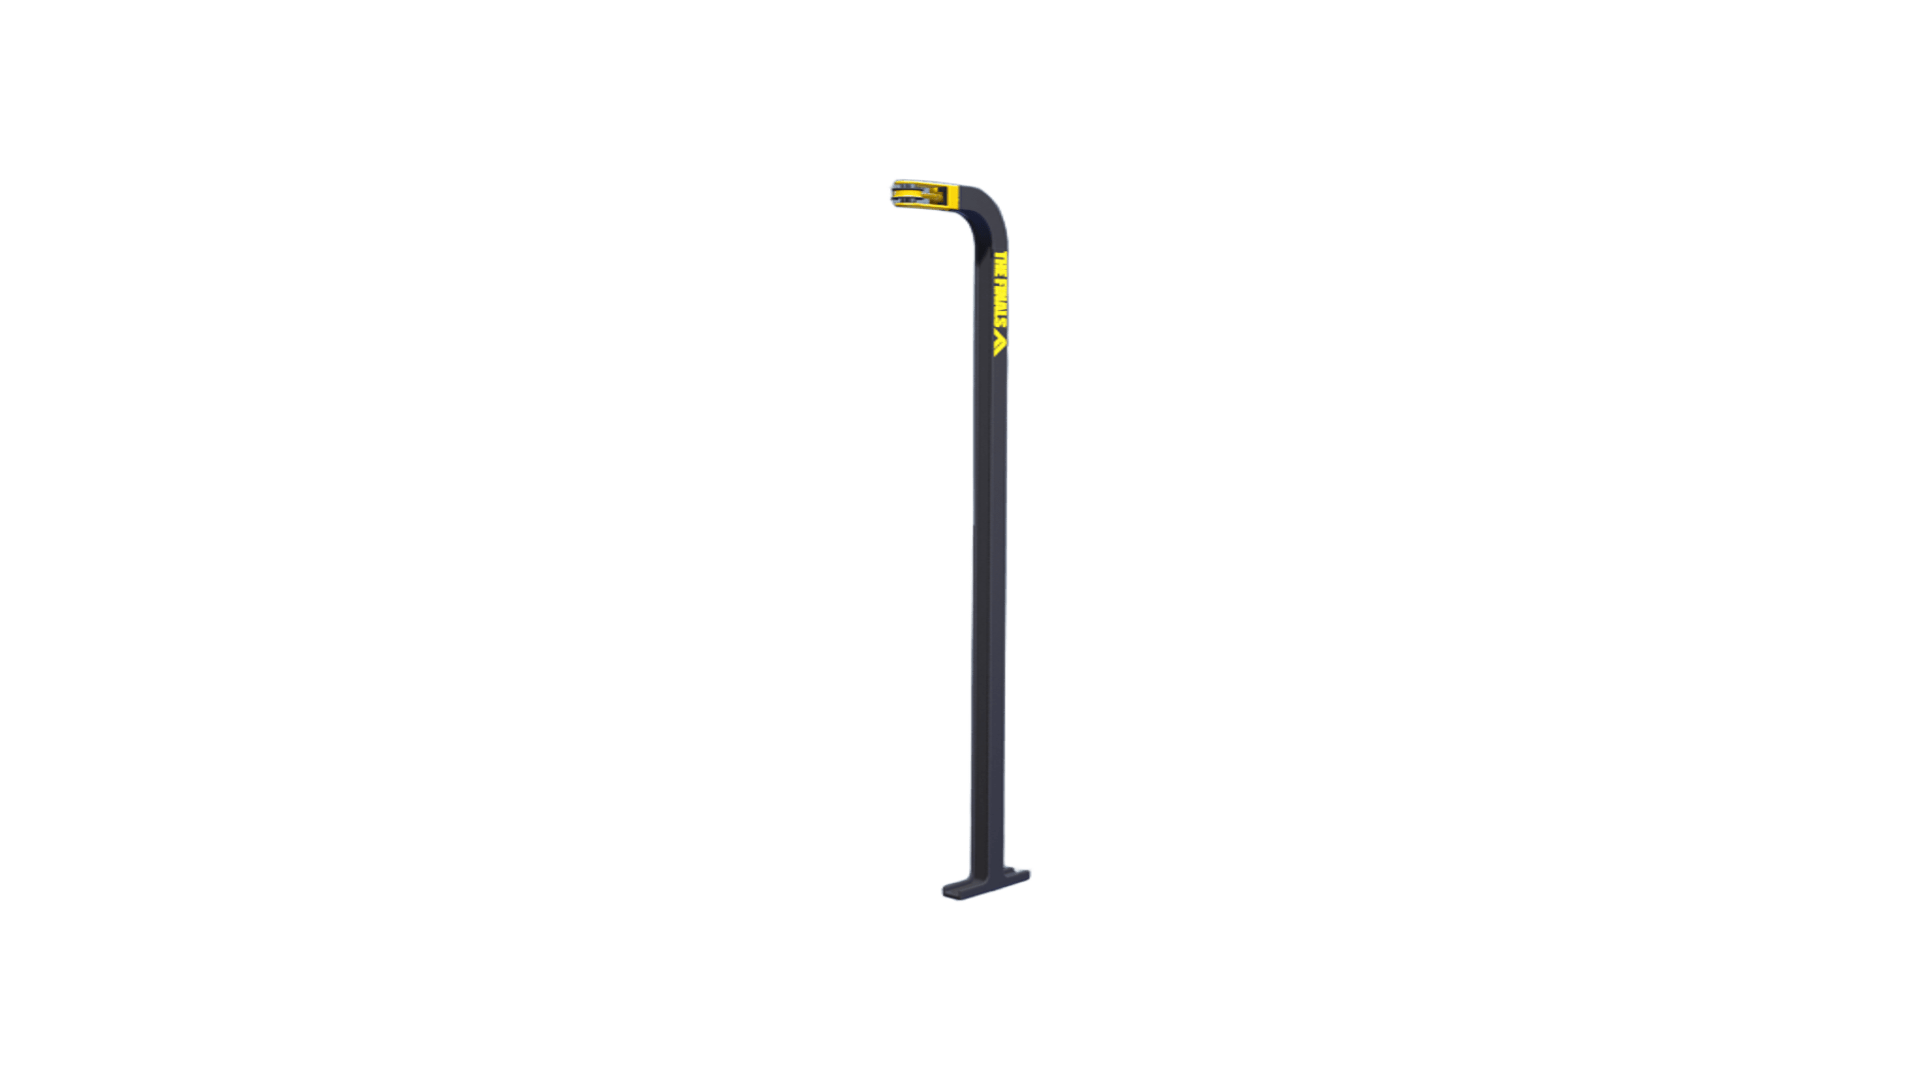
{{EquipmentCard | Image= | {{EquipmentCard | Image=Tracking_Dart_Icon.png| page=Tracking Dart | equipment-name=Tracking Dart}} | ||
{{EquipmentCard | Image=Zipline.png| page=Zipline| equipment-name=Zipline }} | {{EquipmentCard | Image=Zipline.png| page=Zipline| equipment-name=Zipline }} | ||
|text3 = {{EquipmentCard | Image=Barricade.png | page=Barricade | equipment-name=Barricade}} | |text3 = {{EquipmentCard | Image=Barricade.png | page=Barricade | equipment-name=Barricade}} | ||
{{EquipmentCard | Image= | {{EquipmentCard | Image=C4_Icon.png | page=C4 | equipment-name=C4}} | ||
{{EquipmentCard | Image=Dome_Shield.png | page=Dome Shield | equipment-name=Dome Shield}} | {{EquipmentCard | Image=Dome_Shield.png | page=Dome Shield | equipment-name=Dome Shield}} | ||
{{EquipmentCard | Image= | {{EquipmentCard | Image=Explosive_Mine_Icon.png | page=Explosive Mine | equipment-name=Explosive Mine}} | ||
{{EquipmentCard | Image= | {{EquipmentCard | Image=Pyro_Mine_Icon.png | page=Pyro Mine | equipment-name=Pyro Mine}} | ||
{{EquipmentCard | Image=Night_Vision.png | page=Night Vision | equipment-name=Night Vision}} | {{EquipmentCard | Image=Night_Vision.png | page=Night Vision | equipment-name=Night Vision}} | ||
{{EquipmentCard | Image= | {{EquipmentCard | Image=RPG_Icon.png | page=RPG-7| equipment-name=RPG-7}} | ||
}} | }} | ||
{{InfoGridCards|header1=All Builds|classes1=card--centeralign | {{InfoGridCards|header1=All Builds|classes1=card--centeralign | ||
|text1 = {{EquipmentCard | Image=Flashbang.png | page=Flashbang | equipment-name=Flashbang }} | |text1 = {{EquipmentCard | Image=Flashbang.png | page=Flashbang | equipment-name=Flashbang }} | ||
{{EquipmentCard | Image= | {{EquipmentCard | Image=Frag_Grenade_Icon.png | page=Frag Grenade | equipment-name=Frag Grenade}} | ||
{{EquipmentCard | Image= | {{EquipmentCard | Image=Gas_Grenade_ICon.png | page=Gas Grenade | equipment-name=Gas Grenade}} | ||
{{EquipmentCard | Image= | {{EquipmentCard | Image=Goo_Grenade_Icon.png| page=Goo Grenade | equipment-name=Goo Grenade}} | ||
{{EquipmentCard | Image= | {{EquipmentCard | Image=Pyro_Grenade_Icon.png| page=Pyro Grenade | equipment-name=Pyro Grenade}} | ||
}} | }} | ||
Revision as of 16:21, 22 November 2023
Contestants will choose from a variety of special equipment to further complement their playstyle in the arena. All gadgets are active abilities that have a fixed cooldown, and the uses and effectiveness of these gadgets can vary in different situations. Experimentation and practice is important to utilize gadgets correctly.

