Builds: Difference between revisions
More actions
No edit summary |
alphabetical sort |
||
| Line 14: | Line 14: | ||
||text2 = {{EquipmentCard | Image=Dagger Icon.png | page=Dagger | equipment-name=Dagger}} | ||text2 = {{EquipmentCard | Image=Nama-404 Icon.png | page=93R | equipment-name=93R}} | ||
{{EquipmentCard | Image=Dagger Icon.png | page=Dagger | equipment-name=Dagger}} | |||
{{EquipmentCard | Image=LH1 Icon.png | page=LH1 | equipment-name=LH1}} | {{EquipmentCard | Image=LH1 Icon.png | page=LH1 | equipment-name=LH1}} | ||
{{EquipmentCard | Image=M11 Icon.png | page=M11 | equipment-name=M11}} | {{EquipmentCard | Image=M11 Icon.png | page=M11 | equipment-name=M11}} | ||
| Line 23: | Line 24: | ||
{{EquipmentCard | Image=XP-54 Icon.png | page=XP-54 | equipment-name=XP-54}} | {{EquipmentCard | Image=XP-54 Icon.png | page=XP-54 | equipment-name=XP-54}} | ||
{{EquipmentCard | Image=ThrowingKnives Icon.png | page=Throwing Knives | equipment-name=Throwing Knives}} | {{EquipmentCard | Image=ThrowingKnives Icon.png | page=Throwing Knives | equipment-name=Throwing Knives}} | ||
|text3 = {{EquipmentCard | Image=Breaching_Charge_Icon.png | page=Breach Charge | equipment-name=Breach Charge}} | |text3 = {{EquipmentCard | Image=Breaching_Charge_Icon.png | page=Breach Charge | equipment-name=Breach Charge}} | ||
| Line 29: | Line 29: | ||
{{EquipmentCard | Image=Frag_Grenade_Icon.png | page=Frag Grenade | equipment-name=Frag Grenade}} | {{EquipmentCard | Image=Frag_Grenade_Icon.png | page=Frag Grenade | equipment-name=Frag Grenade}} | ||
{{EquipmentCard | Image=Gas_Grenade_ICon.png | page=Gas Grenade | equipment-name=Gas Grenade}} | {{EquipmentCard | Image=Gas_Grenade_ICon.png | page=Gas Grenade | equipment-name=Gas Grenade}} | ||
{{EquipmentCard | Image=Gateway.png | page=Gateway | equipment-name=Gateway}} | |||
{{EquipmentCard | Image=Goo_Grenade_Icon.png| page=Goo Grenade | equipment-name=Goo Grenade}} | {{EquipmentCard | Image=Goo_Grenade_Icon.png| page=Goo Grenade | equipment-name=Goo Grenade}} | ||
{{EquipmentCard | Image=Glitch_Grenade_Icon.png | page=Glitch Grenade | equipment-name=Glitch Grenade}} | {{EquipmentCard | Image=Glitch_Grenade_Icon.png | page=Glitch Grenade | equipment-name=Glitch Grenade}} | ||
| Line 37: | Line 38: | ||
{{EquipmentCard | Image=Pyro_Grenade_Icon.png| page=Pyro Grenade | equipment-name=Pyro Grenade}} | {{EquipmentCard | Image=Pyro_Grenade_Icon.png| page=Pyro Grenade | equipment-name=Pyro Grenade}} | ||
{{EquipmentCard | Image=Vanishing_Bomb_Icon.png | page=Vanishing Bomb | equipment-name=Vanishing Bomb}} | {{EquipmentCard | Image=Vanishing_Bomb_Icon.png | page=Vanishing Bomb | equipment-name=Vanishing Bomb}} | ||
}} | }} | ||
| Line 46: | Line 46: | ||
{{InfoGridCards|header1={{colored link|#f1f2f4|Specializations|Specializations}}|header2={{colored link|#f1f2f4|Weapons|Weapons}}|header3={{colored link|#f1f2f4|Gadgets|Gadgets}} | {{InfoGridCards|header1={{colored link|#f1f2f4|Specializations|Specializations}}|header2={{colored link|#f1f2f4|Weapons|Weapons}}|header3={{colored link|#f1f2f4|Gadgets|Gadgets}} | ||
|text1 = {{EquipmentCard | Image=Medium Guardian-Turret.png | page=Guardian Turret | equipment-name=Guardian Turret}} | |text1 = {{EquipmentCard | Image=Nama-404 Icon.png | page=Dematerializer | equipment-name=Dematerializer}} | ||
{{EquipmentCard | Image=Medium Guardian-Turret.png | page=Guardian Turret | equipment-name=Guardian Turret}} | |||
{{EquipmentCard | Image=Medium Healing-Beam.png | page=Healing Beam| equipment-name=Healing Beam}} | {{EquipmentCard | Image=Medium Healing-Beam.png | page=Healing Beam| equipment-name=Healing Beam}} | ||
{{EquipmentCard | Image=Recon Senses Icon.png | page=Recon Senses | equipment-name=Recon Senses}} | {{EquipmentCard | Image=Recon Senses Icon.png | page=Recon Senses | equipment-name=Recon Senses}} | ||
|text2 = {{EquipmentCard | Image=AKM Icon.png | page=AKM | equipment-name=AKM}} | |text2 = {{EquipmentCard | Image=AKM Icon.png | page=AKM | equipment-name=AKM}} | ||
{{EquipmentCard | Image=CL-40 Icon.png | page=CL-40 | equipment-name=CL-40}} | {{EquipmentCard | Image=CL-40 Icon.png | page=CL-40 | equipment-name=CL-40}} | ||
{{EquipmentCard | Image=Nama-404 Icon.png | page=FAMAS | equipment-name=FAMAS}} | |||
{{EquipmentCard | Image=FCAR Icon.png | page=FCAR | equipment-name=FCAR}} | {{EquipmentCard | Image=FCAR Icon.png | page=FCAR | equipment-name=FCAR}} | ||
{{EquipmentCard | Image=Model 1887 Icon.png | page=Model 1887 | equipment-name=Model 1887}} | {{EquipmentCard | Image=Model 1887 Icon.png | page=Model 1887 | equipment-name=Model 1887}} | ||
{{EquipmentCard | Image=R.357 Icon.png | page=R.357 | equipment-name=R.357}} | {{EquipmentCard | Image=R.357 Icon.png | page=R.357 | equipment-name=R.357}} | ||
{{EquipmentCard | Image=Riot Shield Icon.png | page=Riot Shield | equipment-name=Riot Shield}} | {{EquipmentCard | Image=Riot Shield Icon.png | page=Riot Shield | equipment-name=Riot Shield}} | ||
|text3 = {{EquipmentCard | Image=APS_Turret.png | page=APS Turret | equipment-name=APS Turret}} | |text3 = {{EquipmentCard | Image=APS_Turret.png | page=APS Turret | equipment-name=APS Turret}} | ||
{{EquipmentCard | Image=Nama-404 Icon.png | page=Data Reshaper | equipment-name=Data Reshaper}} | |||
{{EquipmentCard | Image=Defibrillator_Icon.png | page=Defibrillator | equipment-name=Defibrillator }} | {{EquipmentCard | Image=Defibrillator_Icon.png | page=Defibrillator | equipment-name=Defibrillator }} | ||
{{EquipmentCard | Image=Explosive_Mine_Icon.png | page=Explosive Mine | equipment-name=Explosive Mine}} | {{EquipmentCard | Image=Explosive_Mine_Icon.png | page=Explosive Mine | equipment-name=Explosive Mine}} | ||
| Line 74: | Line 75: | ||
{{EquipmentCard | Image=Tracking_Dart_Icon.png| page=Tracking Dart | equipment-name=Tracking Dart}} | {{EquipmentCard | Image=Tracking_Dart_Icon.png| page=Tracking Dart | equipment-name=Tracking Dart}} | ||
{{EquipmentCard | Image=Zipline.png| page=Zipline| equipment-name=Zipline }} | {{EquipmentCard | Image=Zipline.png| page=Zipline| equipment-name=Zipline }} | ||
}} | }} | ||
| Line 88: | Line 88: | ||
|text2 = {{EquipmentCard | Image=Flamethrower Icon.png | page=Flamethrower | equipment-name=Flamethrower }} | |text2 = {{EquipmentCard | Image=Flamethrower Icon.png | page=Flamethrower | equipment-name=Flamethrower }} | ||
{{EquipmentCard | Image=Nama-404 Icon.png | page=KS-23 | equipment-name=KS-23}} | |||
{{EquipmentCard | Image=Lewis Gun Icon.png | page=Lewis Gun | equipment-name=Lewis Gun}} | {{EquipmentCard | Image=Lewis Gun Icon.png | page=Lewis Gun | equipment-name=Lewis Gun}} | ||
{{EquipmentCard | Image=M32GL Icon.png | page=M32GL | equipment-name=M32GL}} | {{EquipmentCard | Image=M32GL Icon.png | page=M32GL | equipment-name=M32GL}} | ||
| Line 93: | Line 94: | ||
{{EquipmentCard | Image=SA1216 Icon.png | page=SA1216 | equipment-name=SA1216}} | {{EquipmentCard | Image=SA1216 Icon.png | page=SA1216 | equipment-name=SA1216}} | ||
{{EquipmentCard | Image=Sledgehammer Icon.png | page=Sledgehammer | equipment-name=Sledgehammer}} | {{EquipmentCard | Image=Sledgehammer Icon.png | page=Sledgehammer | equipment-name=Sledgehammer}} | ||
|text3 = {{EquipmentCard | Image=Barricade_Icon.png | page=Barricade | equipment-name=Barricade}} | |text3 = {{EquipmentCard | Image=Nama-404 Icon.png | page=Anti-Gravity Cube | equipment-name=Anti-Gravity Cube}} | ||
{{EquipmentCard | Image=Barricade_Icon.png | page=Barricade | equipment-name=Barricade}} | |||
{{EquipmentCard | Image=C4_Icon.png | page=C4 | equipment-name=C4}} | {{EquipmentCard | Image=C4_Icon.png | page=C4 | equipment-name=C4}} | ||
{{EquipmentCard | Image=Dome_Shield.png | page=Dome Shield | equipment-name=Dome Shield}} | {{EquipmentCard | Image=Dome_Shield.png | page=Dome Shield | equipment-name=Dome Shield}} | ||
| Line 106: | Line 107: | ||
{{EquipmentCard | Image=Pyro_Mine_Icon.png | page=Pyro Mine | equipment-name=Pyro Mine}} | {{EquipmentCard | Image=Pyro_Mine_Icon.png | page=Pyro Mine | equipment-name=Pyro Mine}} | ||
{{EquipmentCard | Image=RPG_Icon.png | page=RPG-7| equipment-name=RPG-7}} | {{EquipmentCard | Image=RPG_Icon.png | page=RPG-7| equipment-name=RPG-7}} | ||
}} | }} | ||
Revision as of 16:31, 13 March 2024
You can create multiple contestants associated with either the Light, Medium, or Heavy Build. Each Build has a unique selection of specializations, weapons and gadgets.
Light Build
“Exceptionally fast, but low survivability. Executes hit-and-run tactics. Specializes in stealth and evasion.”
Light is the smallest and most mobile Build, but has the lowest health. Lights have a balanced arsenal of ranged and melee weaponry. They have a good variety of either low-damage, high-fire-rate firearms like the M11 and V9S, or high-damage, high recoil rifles such as the SR-84 and the powerful LH1. Light Builds also have the option to carry the lethal but tactically limiting Dagger or the adrenaline-inducing Sword in combination with one of their specializations such as the Evasive Dash or Cloaking Device.

Medium Build
“Excels in mid-range combat with average health and movement speed. Specializes in healing, scanning, or providing support.”
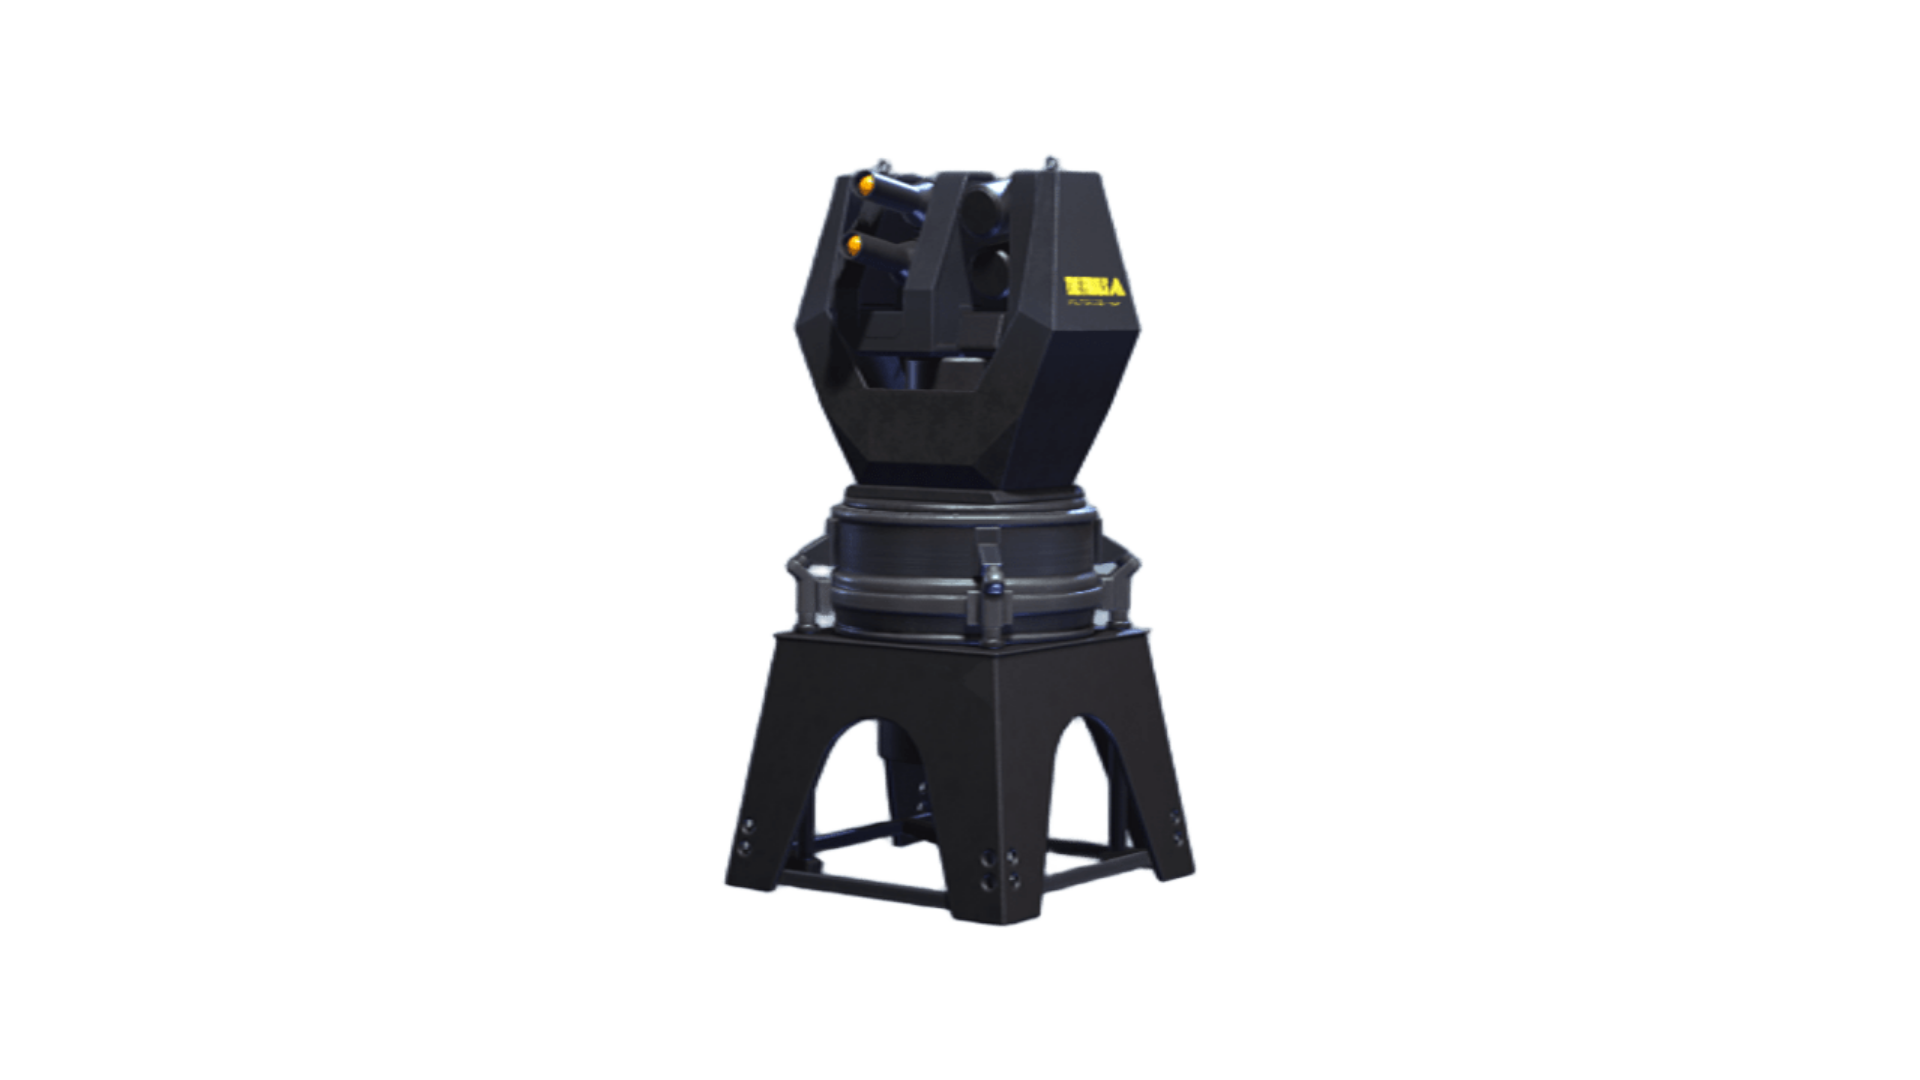
Mediums are the jack-of-all-trades support Build, having more health than Light Builds, but are also slower and bigger. The Medium's loadout is made up of important utility, such as the helpful Healing Beam or defensive Guardian Turret, the life-saving Defibrillator, and even a deployable Zipline. Mediums have a wide arsenal of weapons available to them, from a standard assault rifle to a bulletproof shield.
Heavy Build
“High survivability. Low movement speed. Specializes in demolition and fortifications.”
The Heavy Build is the slowest and largest Build, but has the most health. The Heavy Build offers a tank-like playstyle, providing resources for effectively capturing and controlling objectives. They can be equipped with the devastating Charge ‘n’ Slam, handy Goo Gun, or defensive Mesh Shield. Heavies have a plethora of powerful firearms and hard-hitting weapons, ranging from LMGs to a sledgehammer. The Heavy Build's gadgets include a protective deployable Barricade and a classic RPG-7. It is important to note that Heavy Builds cannot crouch or slide through vents in the arenas due to their large hitbox. On the other hand, the large hitbox allows Heavy Builds to vault onto some elevated structures easier than the other two Builds. Heavy Builds can also throw objects further with the Gravity Glove than the other two Builds.secret moolah!
